Your timer, always one click away in the menu bar.
Download for MacmacOS 15 (Sequoia) or later · Works on Apple Silicon & Intel
A handful of steps, a couple of minutes. Most of them are a security prompt that looks scarier than it is — here's exactly what you'll see, screen by screen.
Click Download for Mac above, then open Bizily.dmg from your Downloads folder. Drag the Bizily icon onto the Applications shortcut:
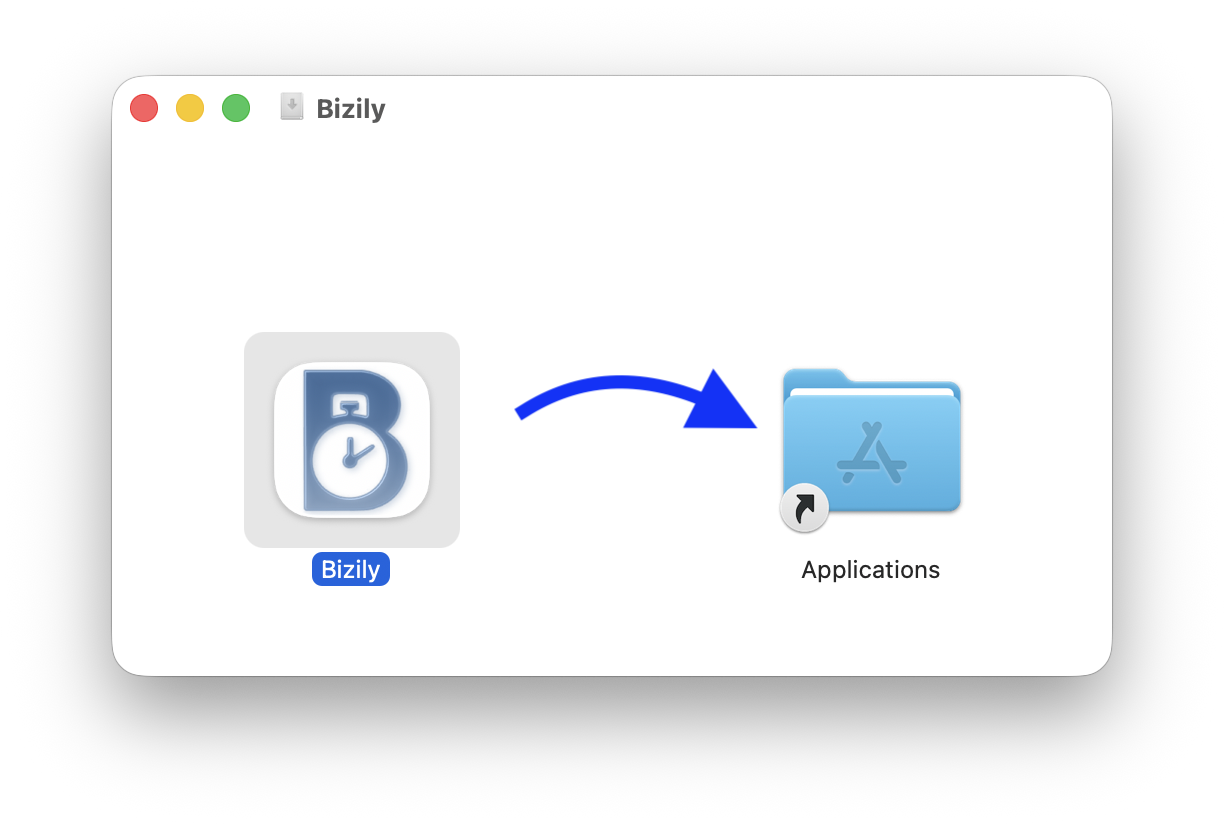
Drag Bizily into Applications
Then eject the disk image from Finder's sidebar. You'll find Bizily in your Applications folder:
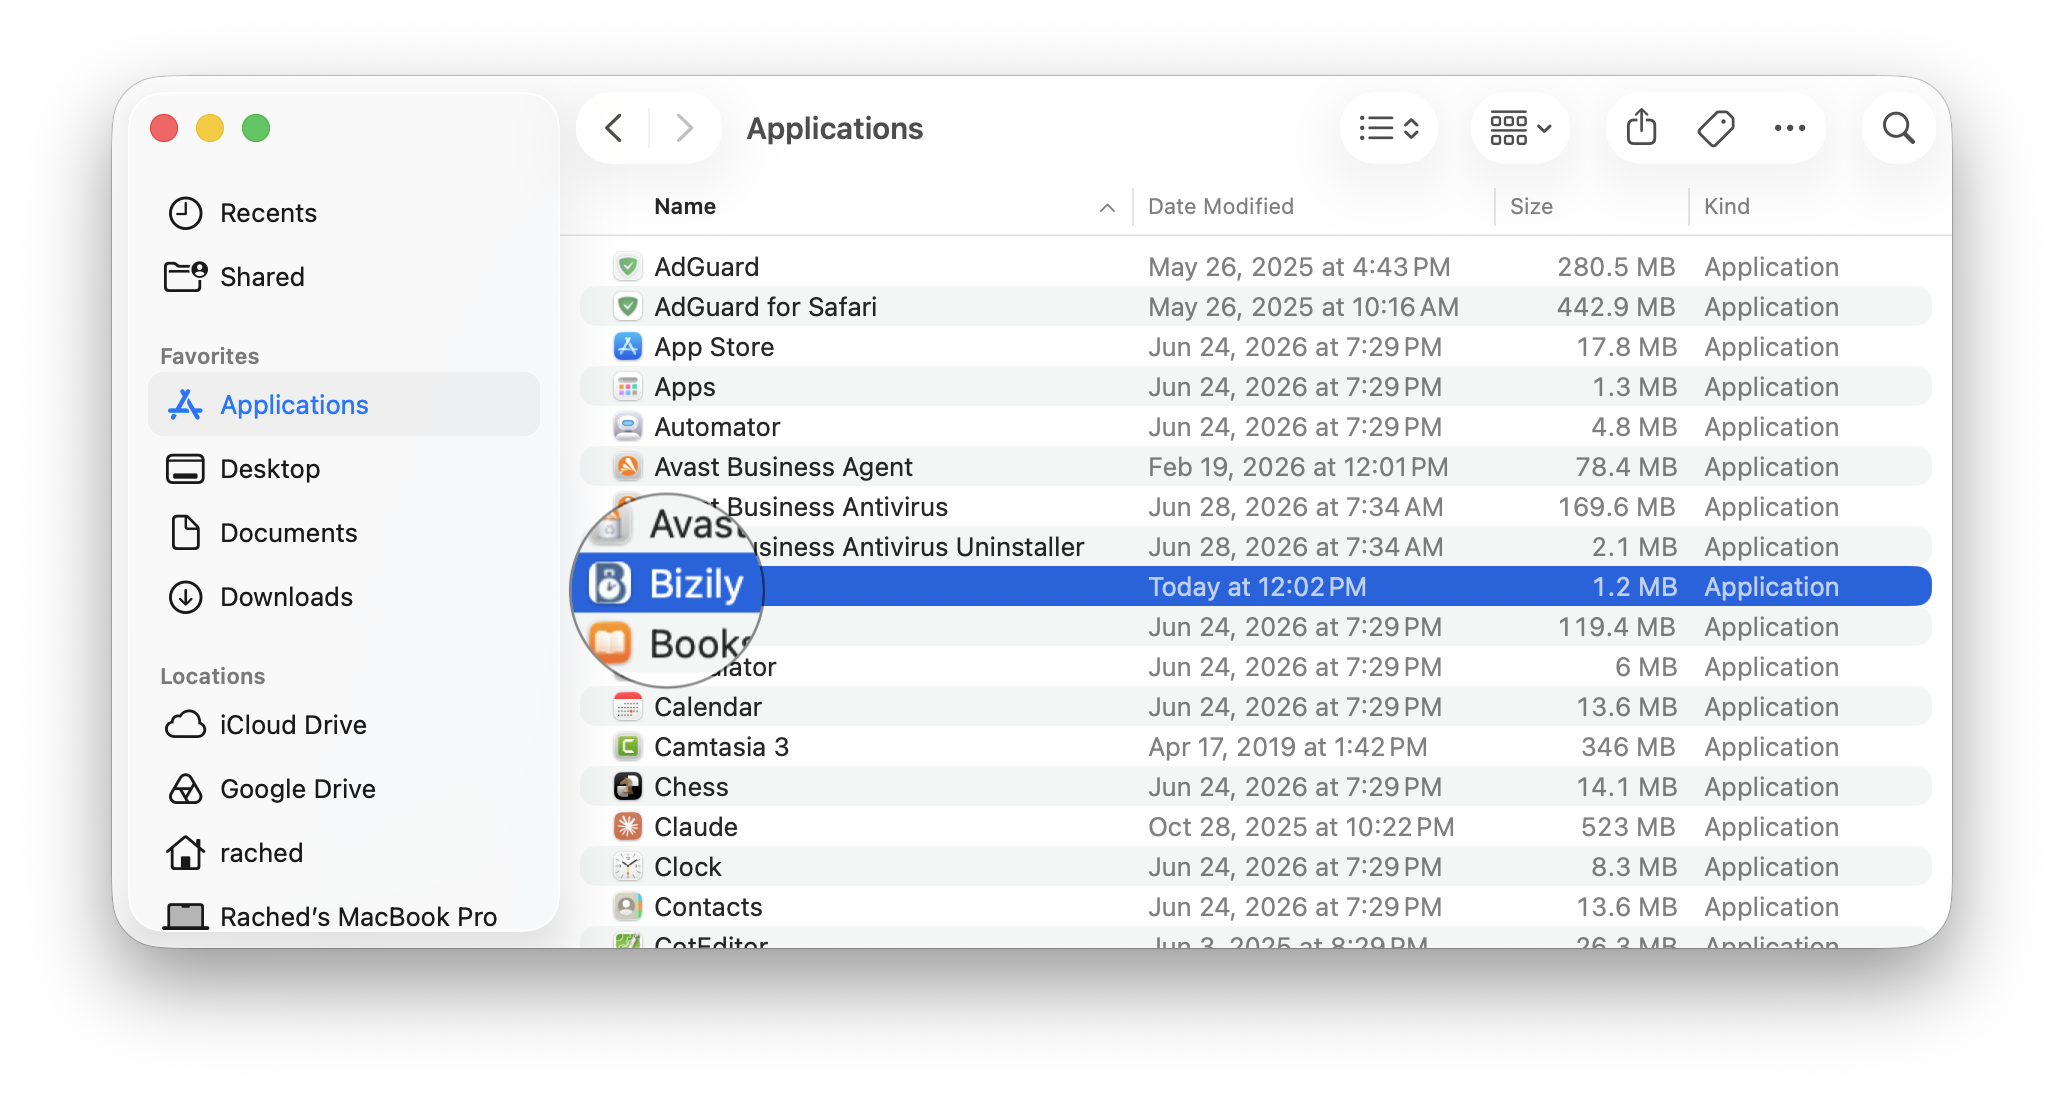
Bizily installed in Applications
Double-click Bizily in Applications. The first time, macOS blocks it:
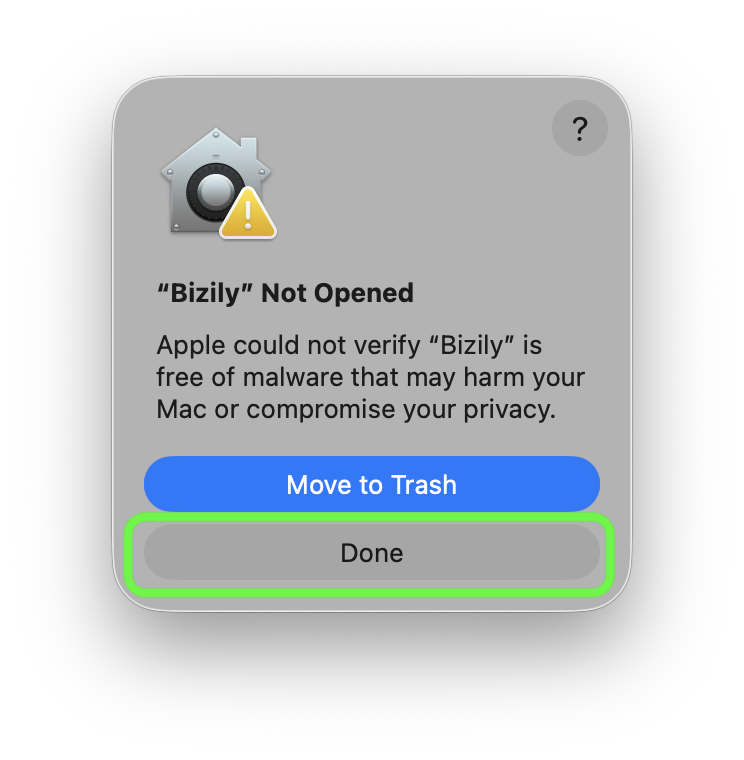
macOS blocks the first launch
Click Done (not Move to Trash!) — this is expected, see why this appears below.
That blocked attempt is what makes Bizily show up here. Open System Settings → Privacy & Security and scroll to the Security section:
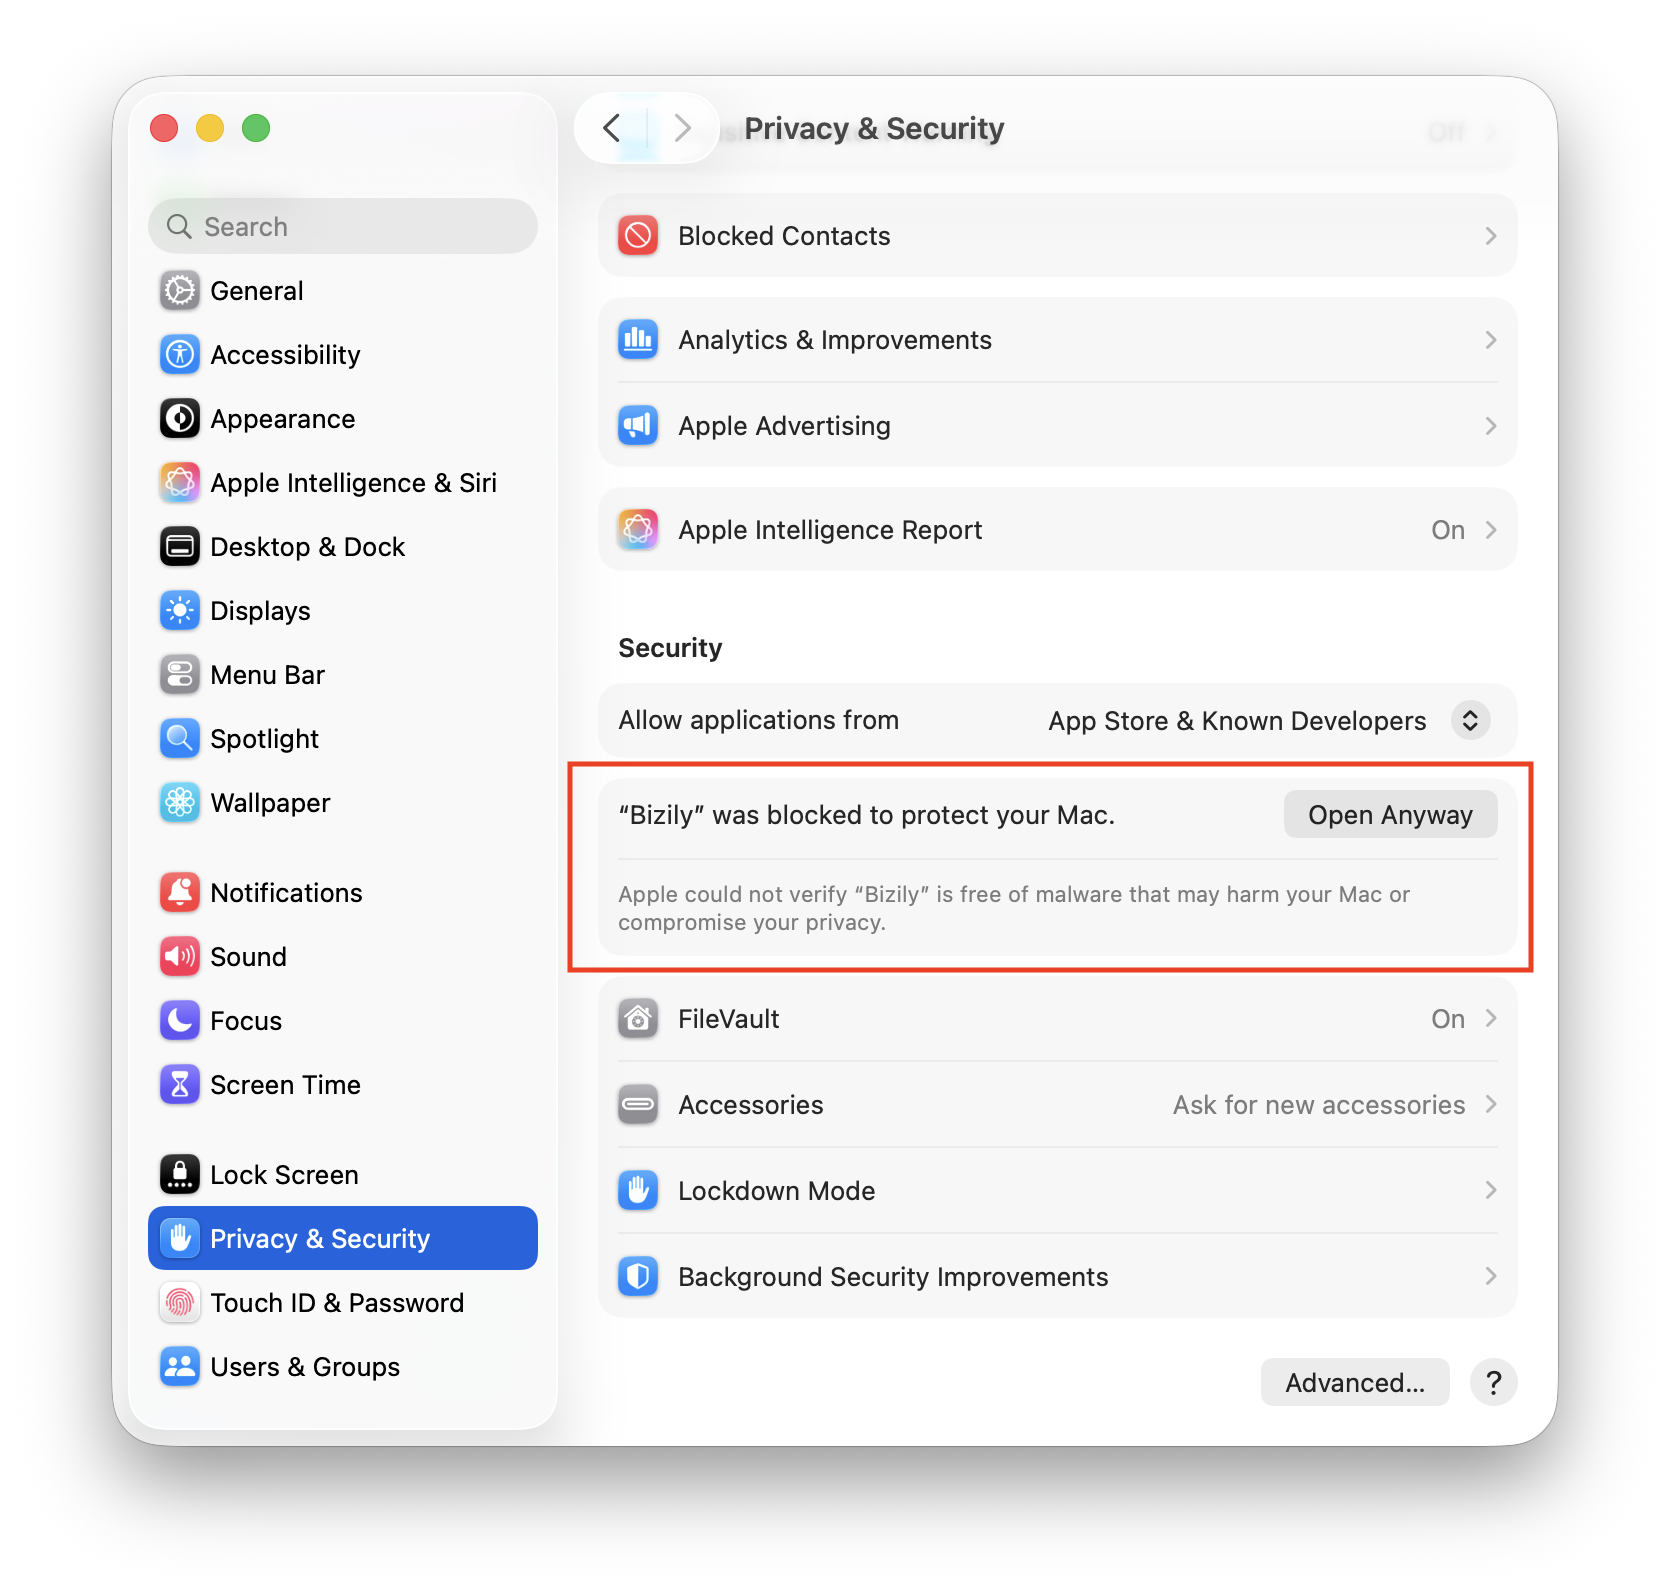
Privacy & Security → click Open Anyway
Click Open Anyway. You'll be asked to confirm with Touch ID or your password:
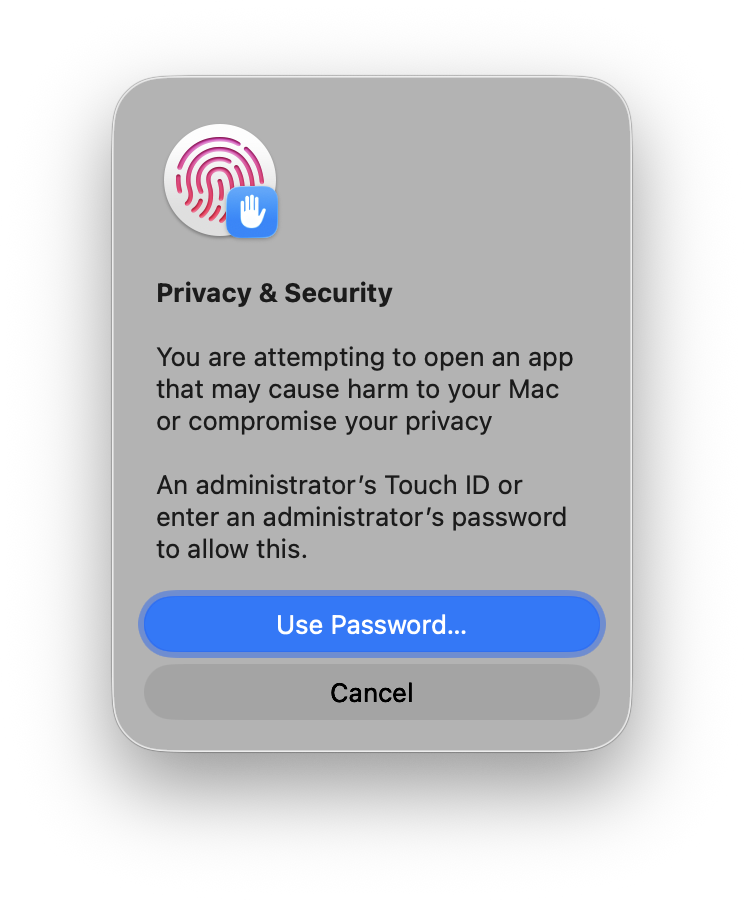
Confirm with Touch ID or your password
Click Use Password… (or use Touch ID) and enter your Mac login password. As soon as you confirm, macOS immediately asks one more time:
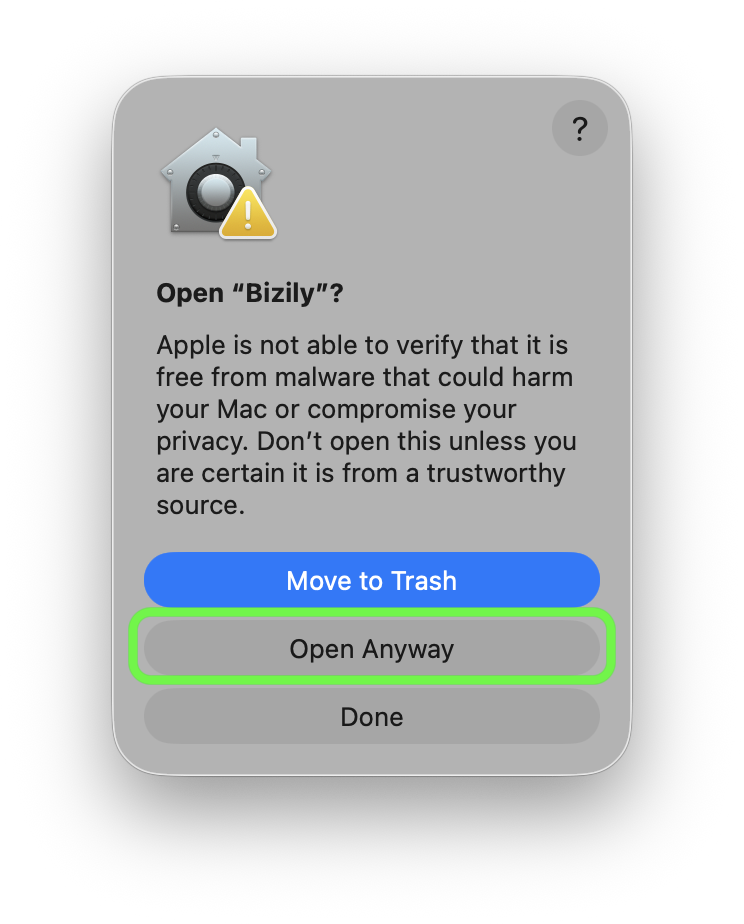
Confirm once more
Click Open Anyway and Bizily launches. From now on it opens normally with a plain double-click — you won't see any of this again.
On first launch, Bizily's Preferences window opens automatically asking for your
Business ID — the part of your login link right after
bizi.ly/with/. If you're not sure what yours is, check the invitation
email from your business or ask whoever set up your Bizily account. While you're
there, we'd recommend turning on Start at login too (it's off by
default) so Bizily is always ready in your menu bar:
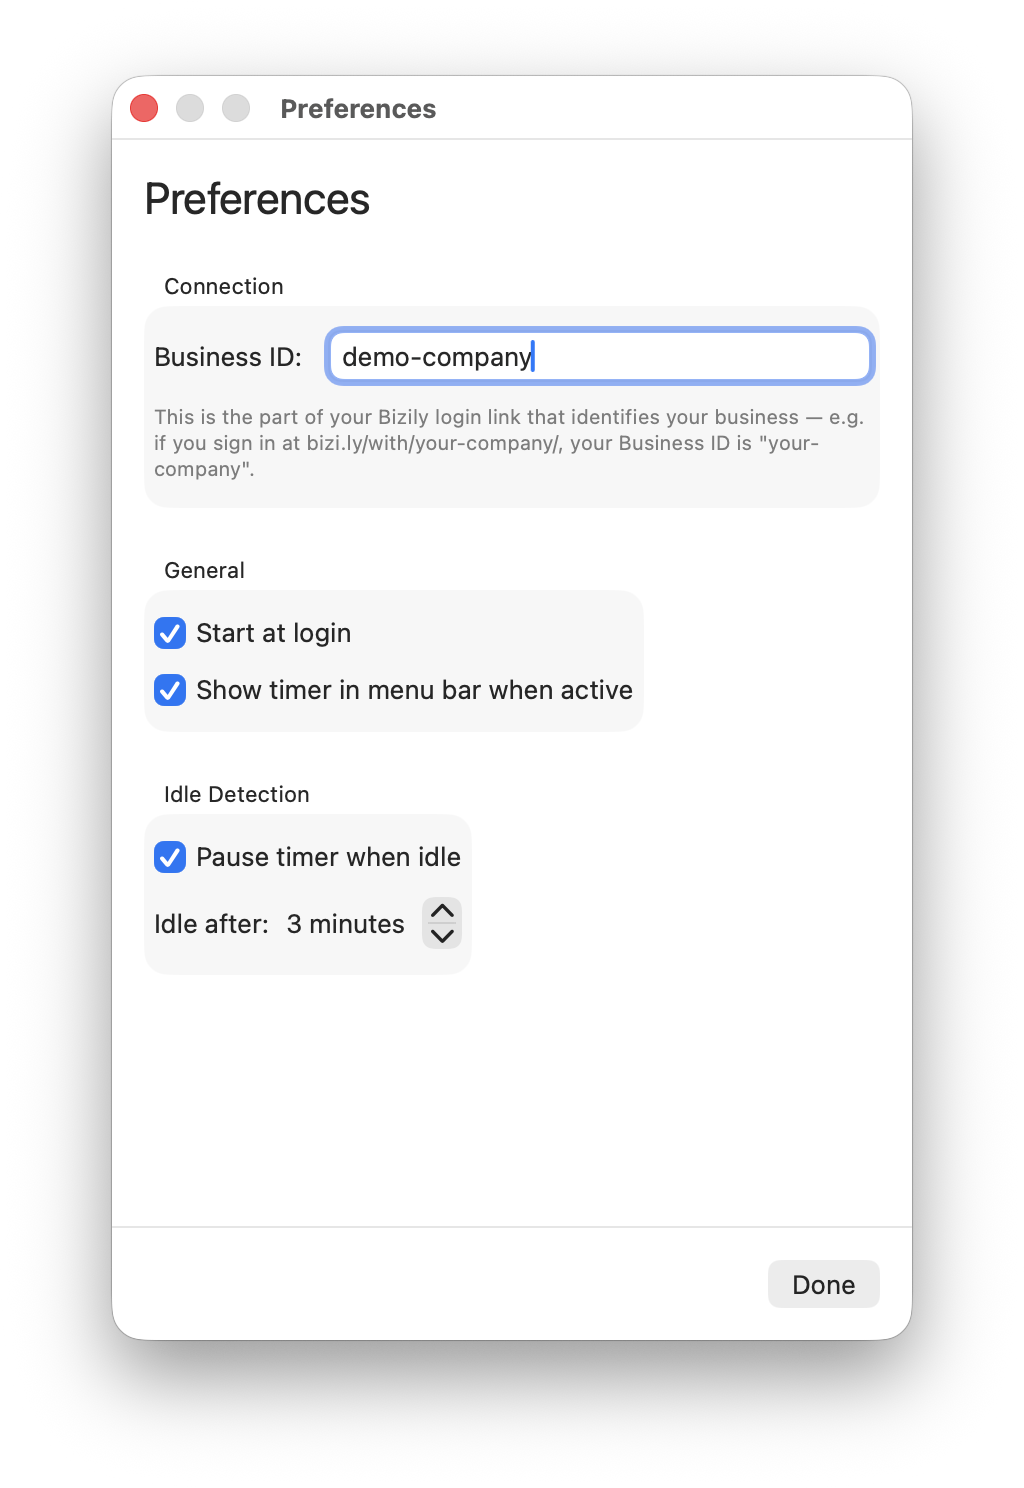
Enter your Business ID in Preferences
If you check that box, macOS confirms it right away:
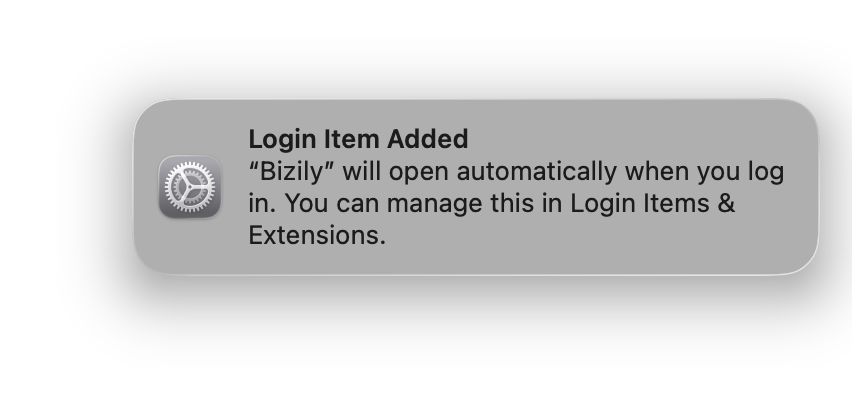
Login item confirmation
Click Done once you're set.
Click the Bizily icon in your menu bar and sign in with the same account you use on the web:
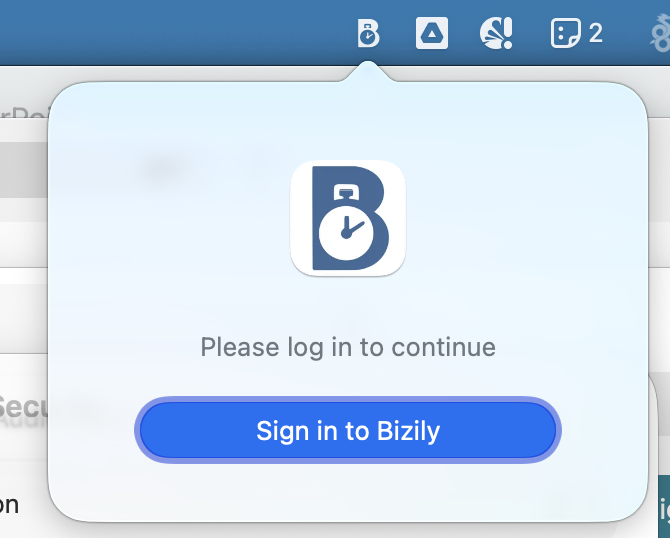
Sign in from the menu bar
Apple charges developers an annual fee to have apps automatically vetted and signed for smooth installation. We distribute Bizily for Mac directly instead of through the App Store, so macOS blocks it the first time you open it and asks you to approve it manually in System Settings → Privacy & Security (see Step 3 above). It doesn't mean anything is wrong with the app — just that it wasn't distributed through Apple's store. Once you approve it, macOS remembers and won't ask again. See Apple's own guide to this process.
Yes. This warning appears for any app distributed outside the Mac App Store, regardless of how trustworthy it is — it's not a virus scan result, just a "we don't recognize this distribution channel" notice.
No. Installing Bizily only requires dragging it into your Applications folder, which any standard user account can do.
Any Mac running macOS 15 (Sequoia) or later, Apple Silicon (M-series) or Intel.
Come back to this page and download the latest version, then repeat the install and first-open steps above — dragging the new version into Applications replaces the old one. Since it's a fresh download, macOS will ask you to approve it again in System Settings. There's no automatic update check yet.